Hello again! I recently decided that I needed to get over my fear of sleeves, unless I wanted to make nothing but sundresses forever more. My first attempt at setting in sleeves was disastrous, and I was reluctant to give it another go. That is, until I stumbled upon this "
cheater's guide" to setting in sleeves flat by A Fashionable Stitch. Trying to fit a tube into a slightly smaller tube is just crazymaking, but this, this I could get behind.
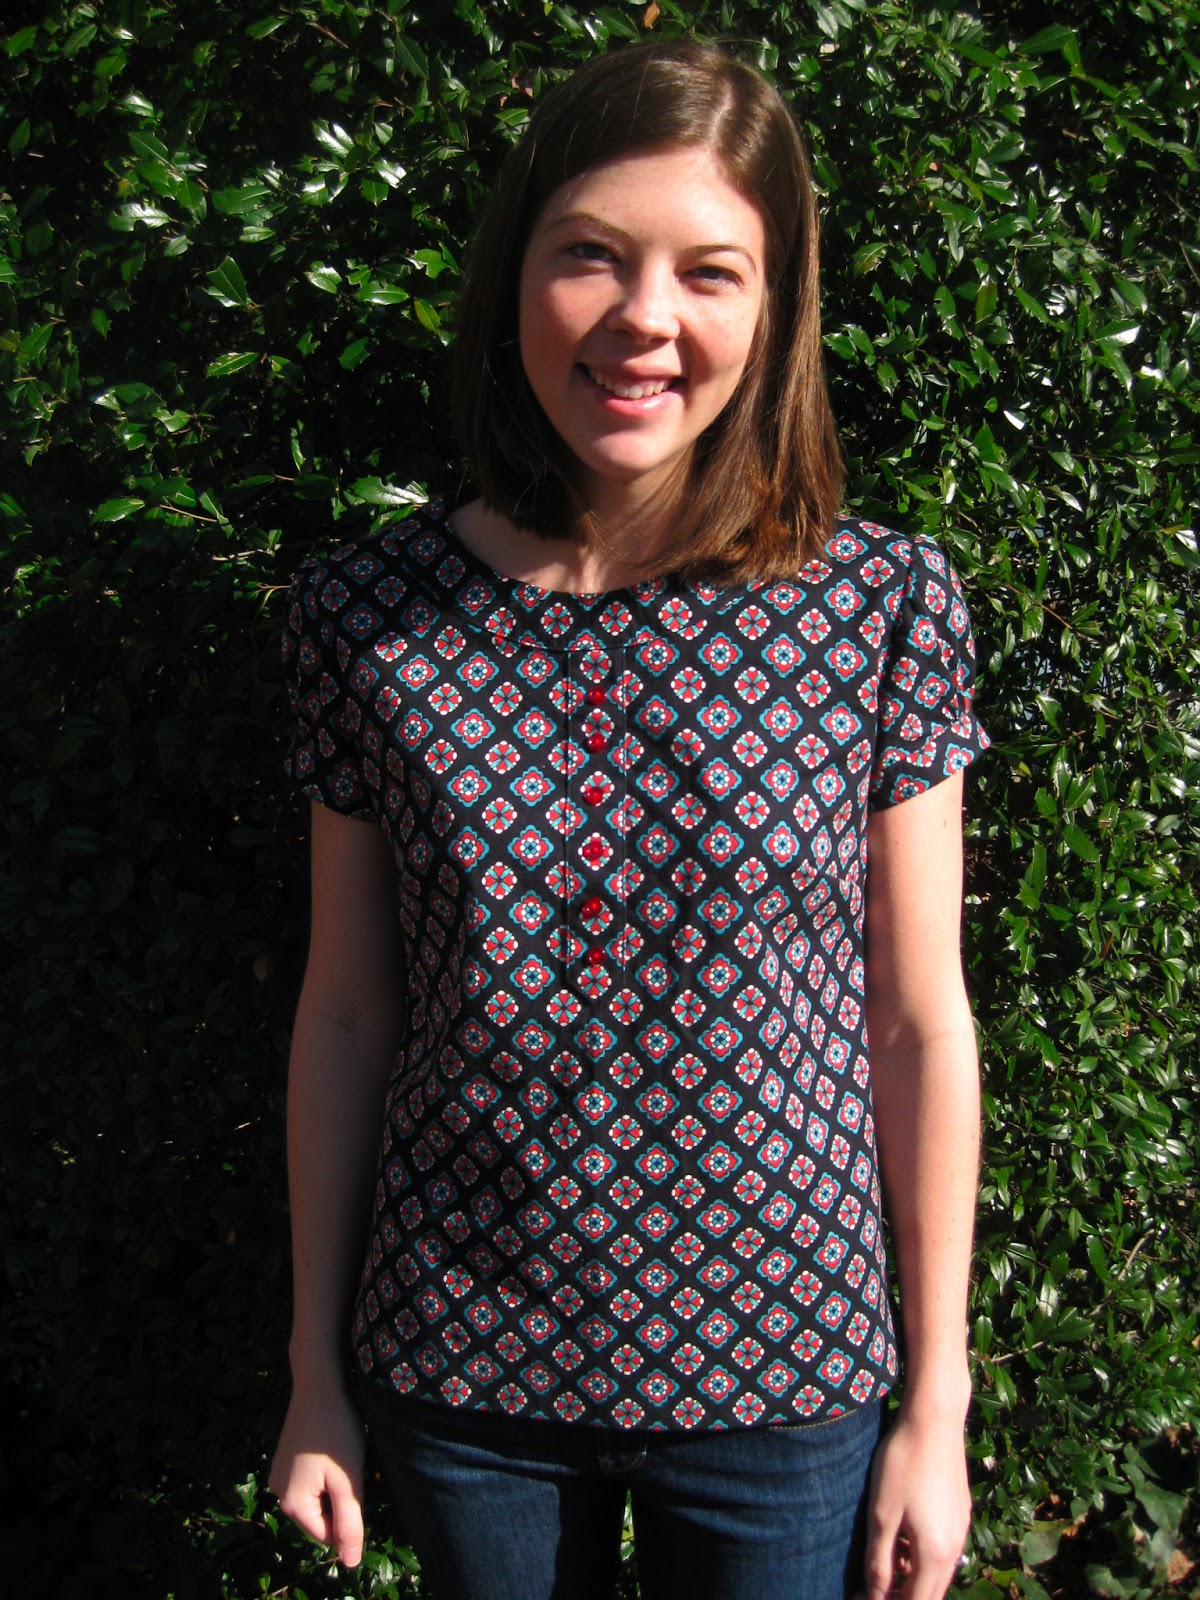
I love, love, love the Lisette pattern line, so I picked the market top (
Simplicity 2211) as my test case. It's view E, the one the model is wearing on the pattern envelope. I loved the puffy sleeves, and this type of casual top is a big hole in my closet right now. I have t-shirts and work clothes, but not a lot in between.
I have to say, I'm thrilled with how it came out!
I'm still learning fabrics, so I'm not exactly sure what this is. It's some kind of midweight cotton I got on clearance at Joann's, but it's not quilting cotton, promise!
I did break down and make a muslin on this. I'm not a huge fan of muslins (the extra fabric seems wasteful and it adds a lot of time to the process), but I originally I cut out a straight 12 an it was HUGE. Like muumuu territory. I ended up with a 10 in the shoulders and sleeves, and a 6 in the sides. The only alteration was adding 3 inches in length because the pattern is quite short.
It's still a little wider than I would like it to be, but I couldn't take it in any more and still get it over my head and shoulders (no stretch or side zipper). If I made this again, I might go up to a 12 in the shoulders because it's a little tight when I cross my arms.
Look at those sleeves! Setting them in flat worked like a charm.
One sleeve cap came out puffier than the other and I had to redistribute the ease to match, but that was a pretty easy fix. As other reviewers have noted, the sleeve bands are on the small side.
Also, can we talk about this edge stitching? My new Viking came with a special edge stitching foot, and it has really helped take this from homemade to handmade.
It's a little boxy, so you may need to take in the side seams if you're like me and like your clothing more on the fitted side. The instructions are crystal clear and the collar is constructed so that you don't have any annoying facings.
I definitely recommend this pattern, especially for fellow beginners.