Tuesday, April 10, 2012

Jewelry Organization

Jewelry organizers were all the rage on Pintrest a couple of months ago, a fun way to merge pretty with practical. I immediately latched on to this idea, having a complete "duh!" moment. My old system was to pile all of my jewelry on my dresser and then pick it up off of the floor in the morning after my cat's nocturnal adventures. Seriously. I did this for months. Like I said, duh.

Sidenote - I present this as evidence that Pippin delights in knocking things over:


Anyway, I picked up some cheap frames from the dollar store, and some craft paint from Michael's (Martha Stewart's Gloss paint in Pond). The original plan was to display my jewelry in my bedroom, but after Daylight Savings hit it was pitch black in the morning and I started getting dressed in the closet to avoid waking up my husband. So my jewelry needed to move to the closet too.


If could do this again I wouldn't bother with the painting. I don't know whether I should have sanded the frames first or the craft paint was just sucky, but the paint is incredibly easy to chip. In fact, I managed to chip a big chunk off while hanging the frames up, you can see it a little bit on the top left-hand corner of the bottom frame:


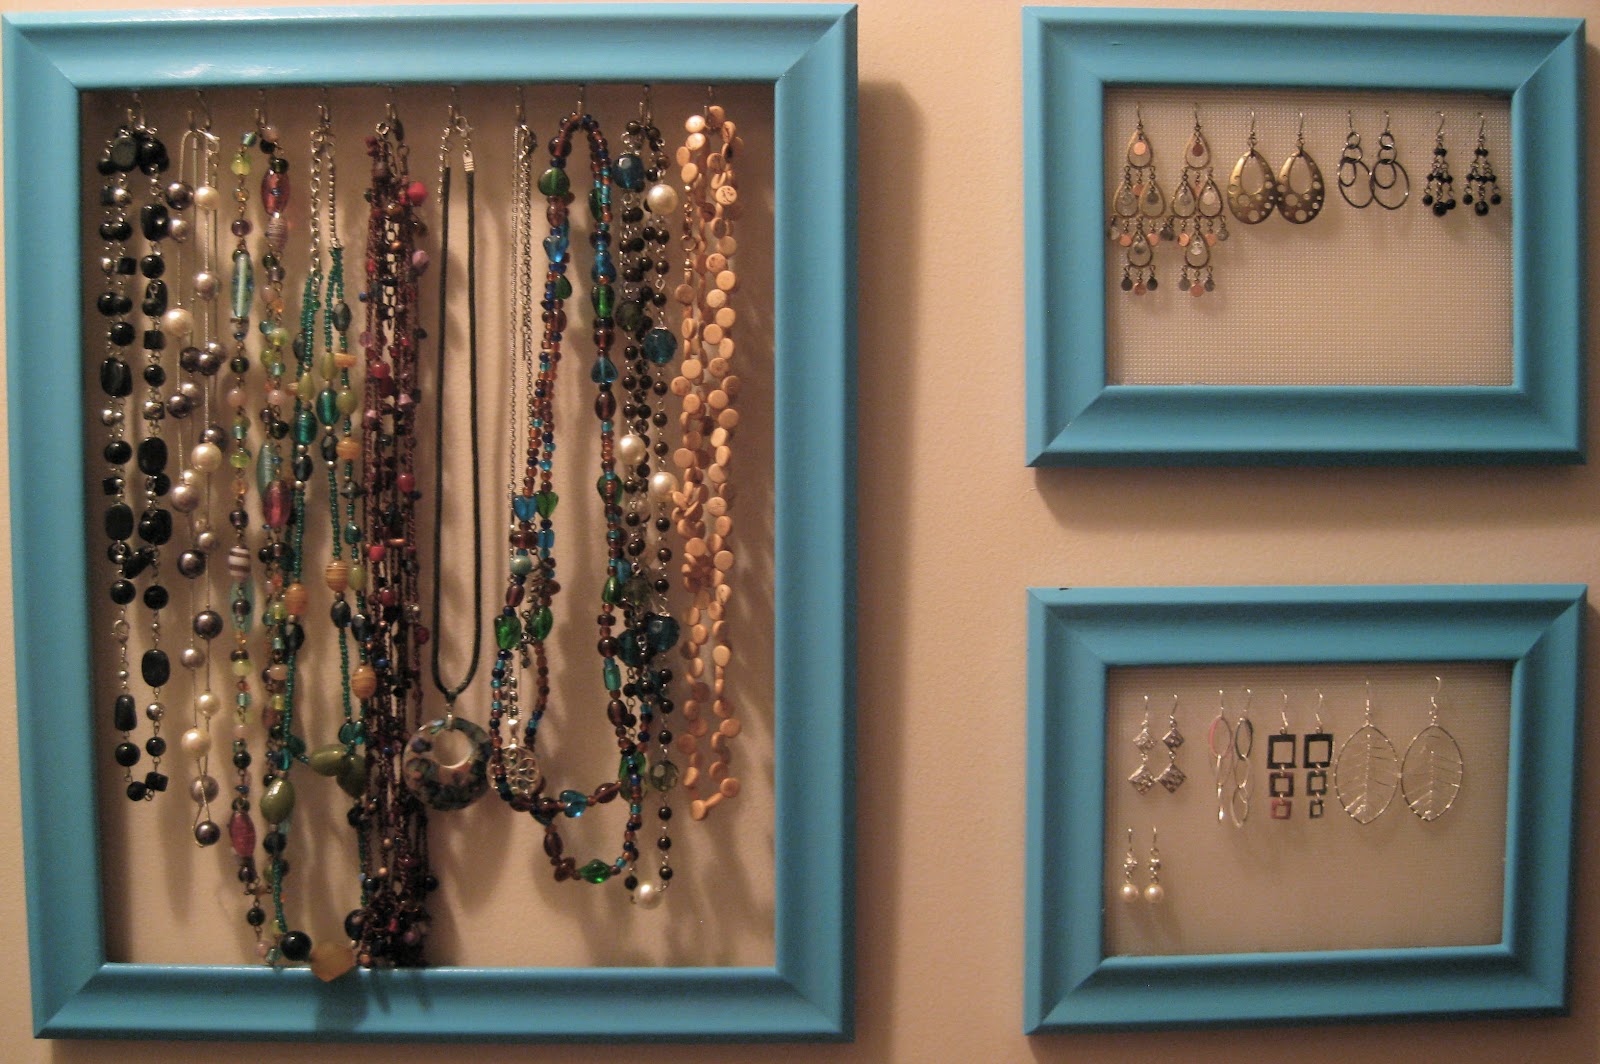
I used a glue gun to put in clear plastic cross stitch canvas for the earrings. The canvases come in relatively small sizes, so I had to buy two smaller frames instead of a single 8"x10" as I had originally envisioned. The holes in the cross stitch canvas are the absolute perfect size for earrings, so I'm happy with it.

As for the necklaces, my husband helped me drill holes about an inch apart to screw the hooks into. The first few hooks went in fine, but eventually the wood split, leaving the hooks wobbly. I filled in the empty space using a glue gun, and this made things much more secure.


Once the hooks were in, the frame no longer laid flush against the wall, so I cut a few strips of cardboard out, and glued them against the top part of the frame, essentially projecting the frame out from the wall about half an inch. Then I used velcro hanging strips to secure the frame to the wall. You can see in the picture below that it's mounted at little bit of an angle to allow for the hooks:


Overall, I'm really happy with how this project turned out. I even enjoyed coming up with solutions to the little challenges that cropped up along the way. And, best of all, my jewelry is now safely out of Pippin's reach.

Tuesday, April 3, 2012

Amigurumi Nessie

It's complete happenstance that I knit. A few years ago, while browsing around Barnes and Noble, I stumbled across this book:

I thought it was the most charming and quirky craft book I had ever seen. Who wouldn't want to receive a knitted Loch Ness Monster as a gift?! I knew I must learn to knit at once, so that all of my friends and family could look forward to their very own handmade mythical creature. (I have awesome family and friends.)

I had no reason to believe that I could actually do this. I had utterly failed at crochet in undergrad, but I convinced myself that knitting would be easier. So instead of buying the book I coveted, I went to my local Michael's and bought one of those teach yourself to knit kits. Amirigumi Knits was like the summit of Mount Everest - I would have to start at the bottom, train hard, and eventually become skilled enough give it a go. Over the next year or so, I had a couple of starts and stops, making a"scarf" that was decidedly triangular and ripping out more stitches than I care to remember.

Eventually I stopped making unintentional increases and my tension slowly improved. I made the prerequisite Gryffindor scarf, a baby hat for charity, a winter cap and a lace scarf. I learned increases, decreases, eyelets, and cables. And I gave away every single thing I made.

I received Amirigumi Knits for my birthday last October, and last week I finally made it to the top of the summit. I made my very own Nessie:


And I'm keeping him. :)